FS Panel Studio can help you create a new Gauge for your custom panel. To do, you will select an existing XML Gauge, which the Wizard will copy to your own Gauge file, optionally renaming the Gauge as it does. Then the Gauge Editor will start, allowing you to customize the appearance and behaviour of the Gauge.
Starting with an existing Gauge which is close in appearance and functionality to your desired new Gauge saves time and effort, and ensures the new Gauge will be functional from the start.
For this tutorial, we will start with the Beech Baron Altimeter, which we will copy to a new Gauge file, NewGauge.cab. We'll rename the Gauge to Custom Altimeter, and then edit it to make it unique.
Step 1 - Start the Wizard
Start the Wizard by selecting the Gauge: Create a New Gauge menu pick. You'll see the following window.
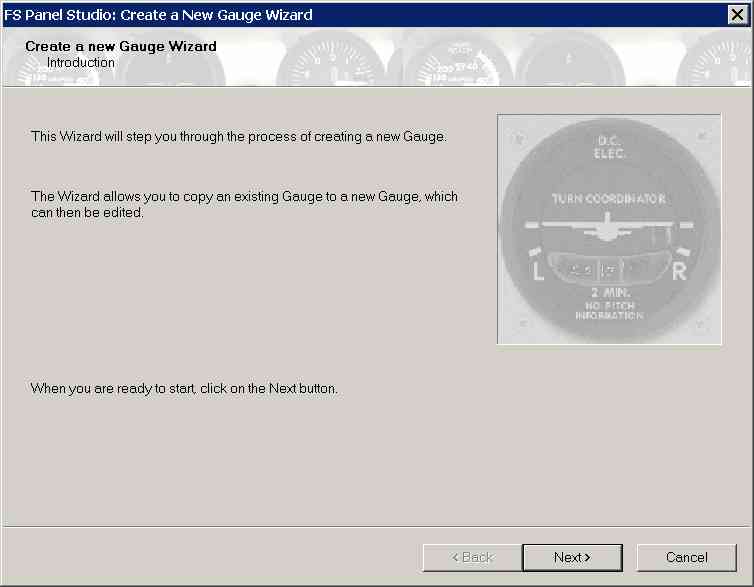
When you're ready to begin, click on the Next button.
Step 2 - Select an existing Gauge
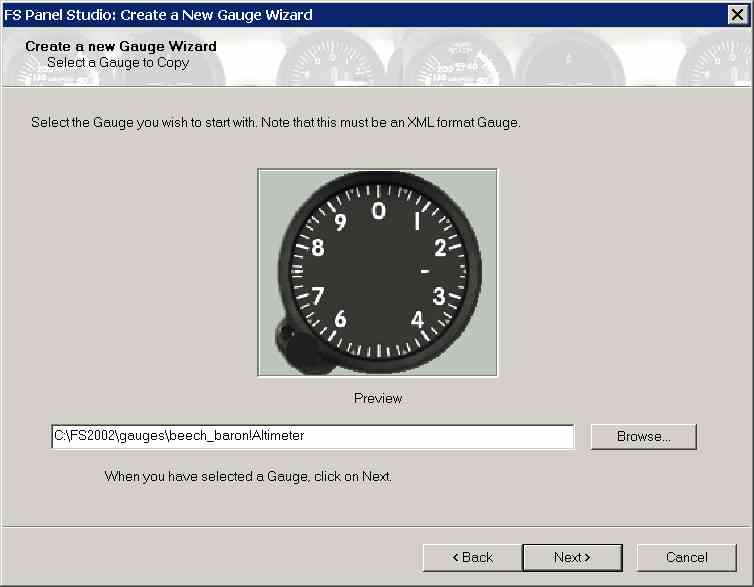
You can either type in the full path to the Gauge, or use the Browse button to help you locate it. The Wizard will display a preview of the selected Gauge to remind you which one is selected.
If you select a Gauge to copy which already exists in the destination CAB file, you may run into problems, and this is not recommended. This is due to the fact that the Gauge will reference its bitmap files by name, and that multiple copies of the Gauge will all point to the same bitmap. This will work fine, but if you edit the bitmap in the Gauge editor, all of the Gauges in the CAB file will be affected and display the changed Gauge -- this is probably not what you want!
Note: the Wizard only works with XML format Gauges. In our example we've selected the Beech Baron Altimeter. Click on Next when you're ready to continue.
NOTE: Starting with FS2004, Gauges can now be located in the Aircraft's Panel folder. If you wish to use these in other aircraft you must first copy the Gauges to the common Flight Simulator Gauges folder.
Step 3 - Select a destination file
You can create a new CAB file to store your new Gauge in, or add it to an existing one. Note that you can't have two copies of the same Gauge in the same file, even if you rename it, as the bitmaps used in the Gauge will conflict.
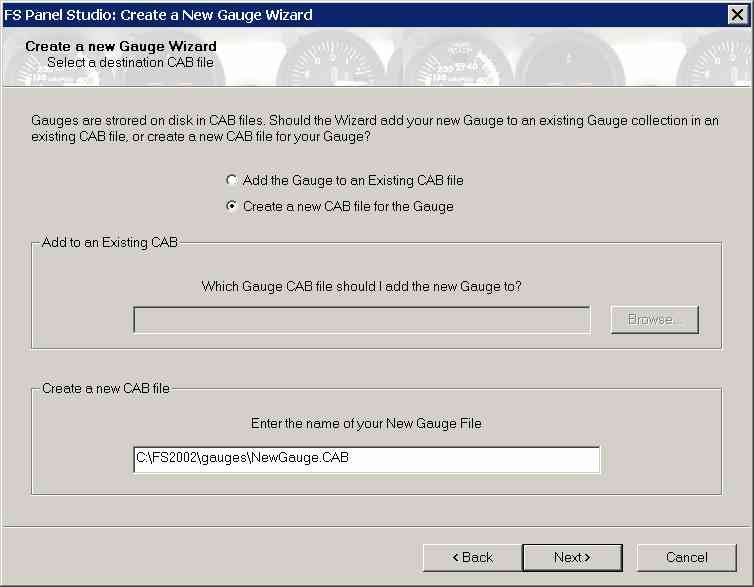
We want to create a totally new CAB file, so we've selected this mode and typed in our new Gauge name - NewGauge.CAB. Click on Next when you're ready to continue.
Step 4 - Enter a name for the Gauge (optional)
If you wish, you can rename the Gauge. If you don't specify a new name, the Wizard will reuse the existing name.
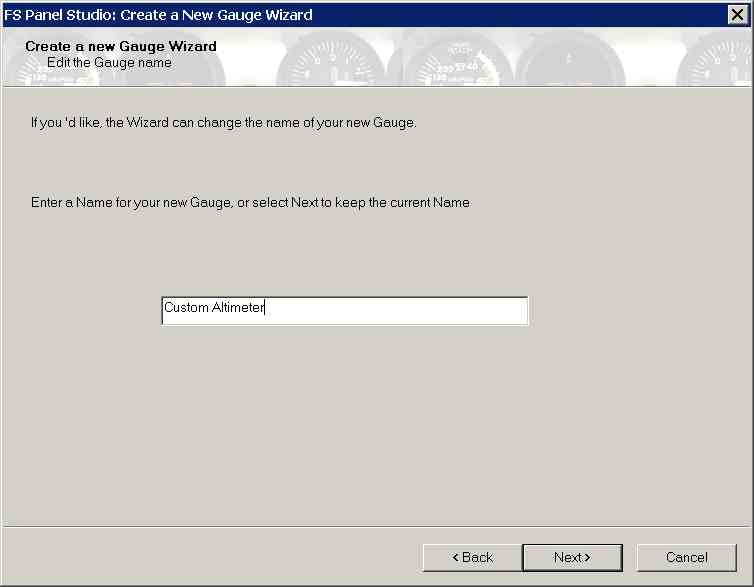
We'll rename our Gauge to Custom Altimeter. Click on Next to continue.
Step 5 - Finished, ready to create File
The Wizard is now ready to create the new Gauge.
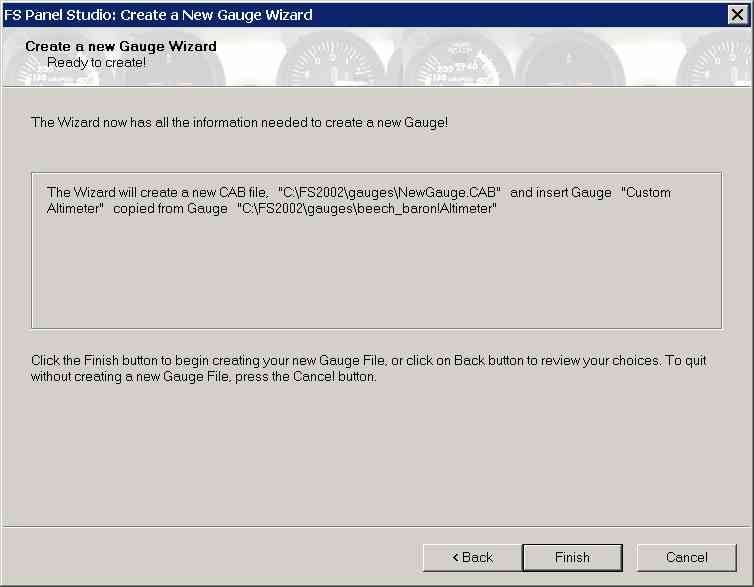
Click on Finish to start the Gauge creation process.
Step 6 - Gauge Editor
The Wizard will take a moment to create the new CAB file. Once it completes, You can open the gauge in the Gauge editor to customize your new Altimeter.
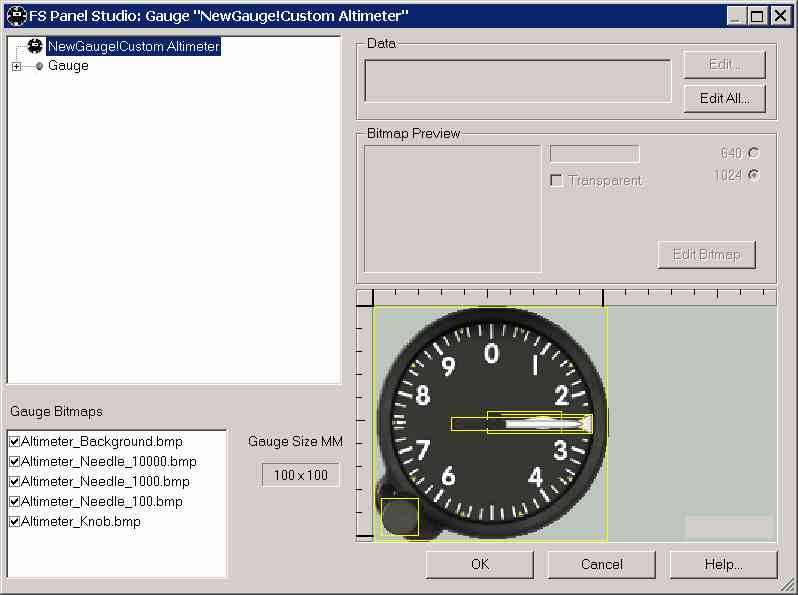
For more information on Gauge editing, see the Gauge Editor tutorial.