Overview
FS Panel Studio makes it easy to add a new Panel to an existing Aircraft. It will modify the Aircraft's configuration file so that the new Panel properly shows up in Flight Simulator as a menu entry. We'll start by using the Add New Panel Wizard to create a basic Panel, then we'll add some Gauges and test out our Panel in FS2002.
Step 1 - Start the Wizard
Start FS Panel Studio, and select the File: Add a New Panel to an Aircraft menu pick (or corresponding toolbar button!). The Add New Panel Wizard will start.
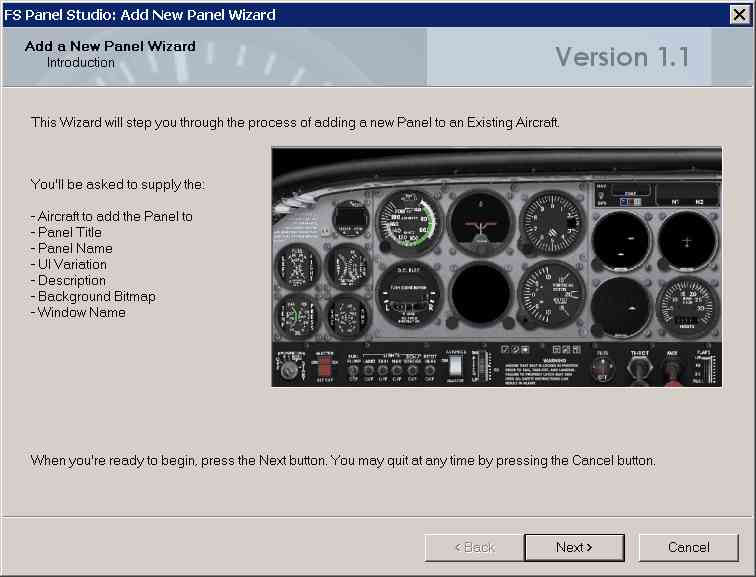
The Wizard will step you through the steps necessary to create a new Panel. When you're ready to begin, press Next.
Step 2 - Select the target Aircraft
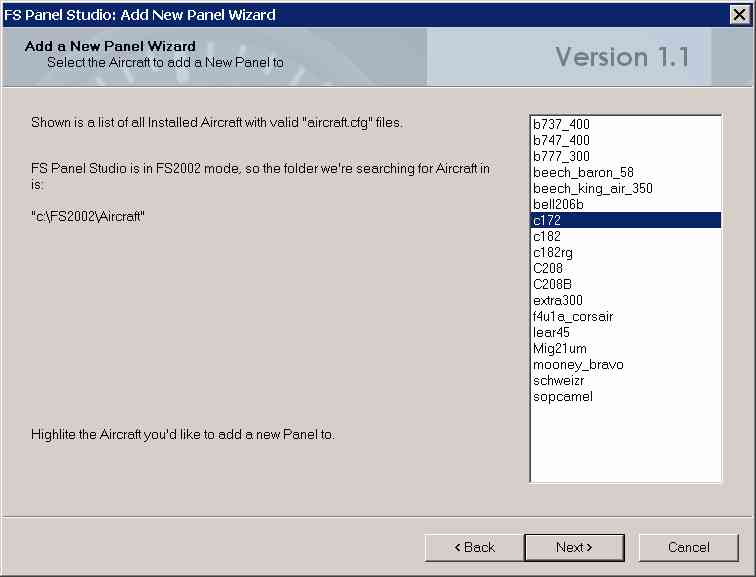
We need tell the Wizard which Aircraft we'd like to add a new Panel to. In this example, we'll add a new Panel to the Microsoft C172. Note that the Wizard will tell in which directory it's looking for Aircraft, in this case C:\FS2002\Aircraft. Only properly installed Aircraft will be listed -- they must have proper aircraft.cfg files. The directory searched will change depending on which mode of FS Panel Studio you're running in.
Select the C172 from the list, and click on Next.
Step 3 - Enter the new Panel's Title
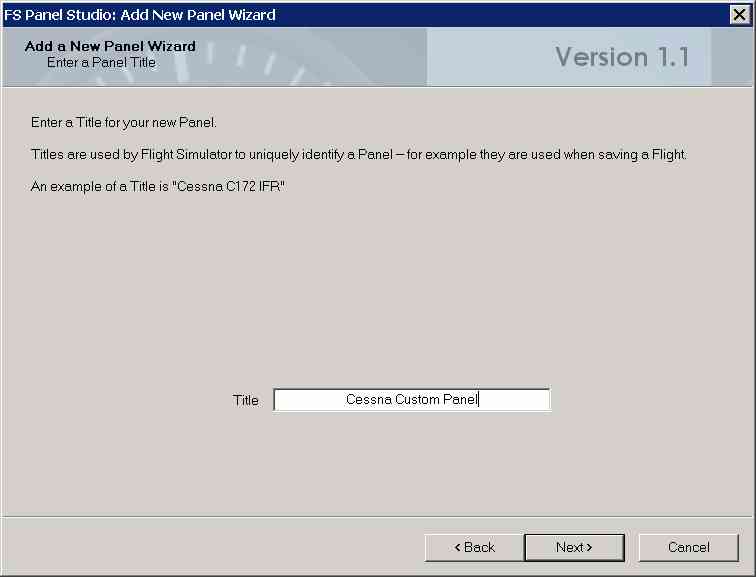
In this step we'll give the Panel a Title. The Title is used to uniquely identify a Panel, you'll see it in places like stored flight situation files. Type in your Title and click on Next.
Step 4 - Enter a Panel Name
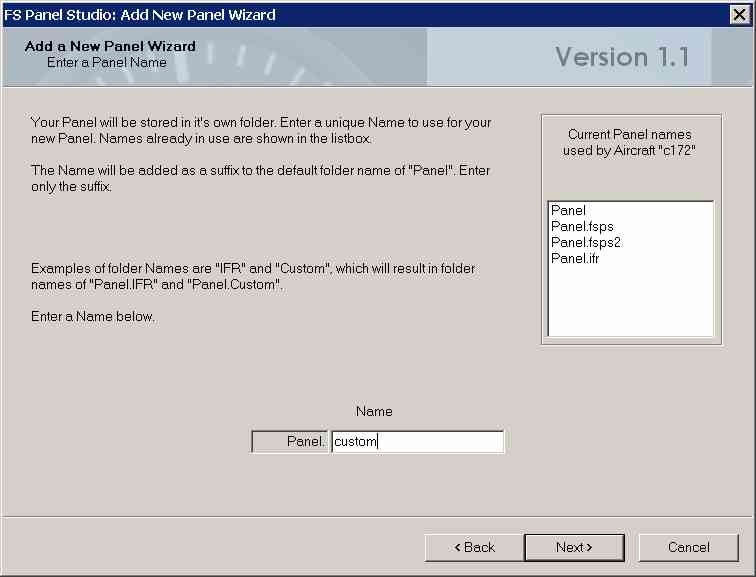
The Wizard now asks us for a new Panel Name. The New Panel Name is used for the folder name under which this Panel will be stored on your computer. In the listbox, we can see that we already have four Panels for the C172, the default Panel, Panel.fsps, Panel.fsps2, and Panel.ifr. Let's use custom as our name; type it into the Name box. The Wizard will create a Panel.custom directory for us, and our new Panel will be created there.
Click Next when finished.
Step 5 - Enter the UI Variation of the new Panel
The Wizard will now ask you to enter the Variation for your new Panel. The Variation is used by FS2002/4 to construct the Menu entry by which you can select your new Panel in the Flight Simulator.
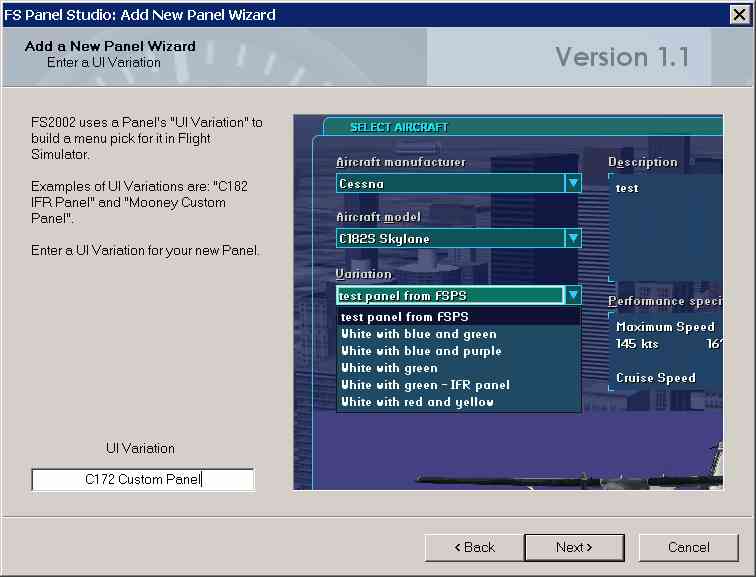
In our example, we'll use C172 Custom Panel as the Variation. Pick something fairly short - it has to fit on a drop down list. Click Next when finished.
Step 6 - Enter a description of the new Panel
We're still in the Wizard. You're now asked to enter a description of your new Panel. This will also appear in FS2002 in the Aircraft Selection dialog.
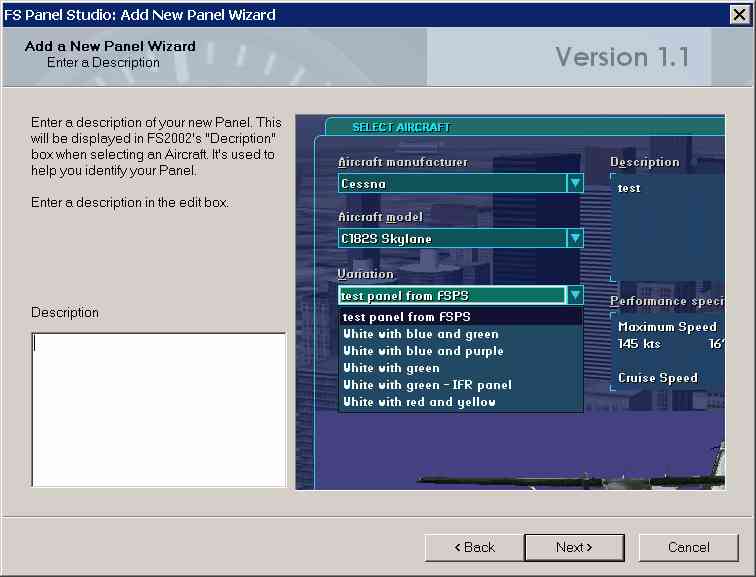
You can type in anything you want in the Description box. It will help you remember which Panel is which when you're running FS2002. Input your description and click Next.
Step 7 - Select a background bitmap
The next thing you need for your new Panel is a background bitmap. The Wizard will now allow you to select an existing bitmap to use as your new background. You can either type in the full pathname to a file, or use the Browse button to bring up a file browser with preview to help you find one.
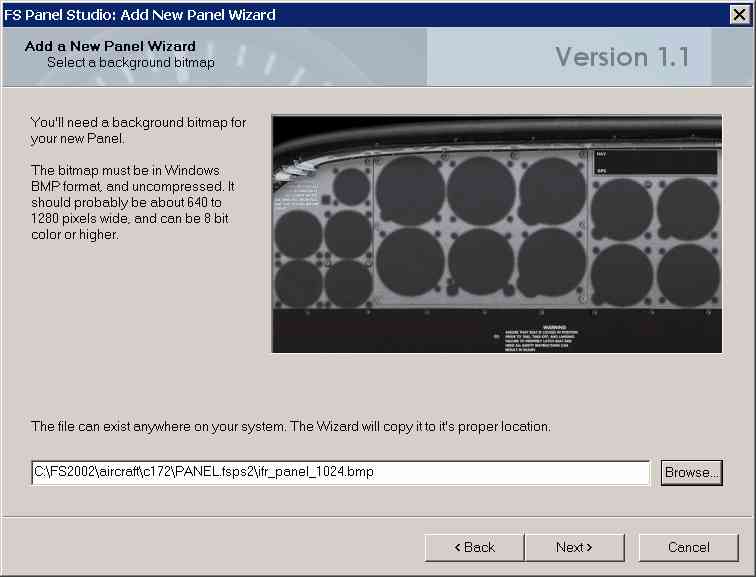
Because we're creating a new Panel for the C172, it makes sense to use an existing C172 background bitmap as a starting point. You can, however, use any bitmap which you have created in a paint program. The only requirement is that it be a uncompressed Windows format BMP file. Its width should be in the area of 640 to 1280 pixels.
Once you're selected your new background, click Next.
Step 8 - Name Your new Window
You'll need a name for your new Window. In this example, "Main Panel" is a good choice.
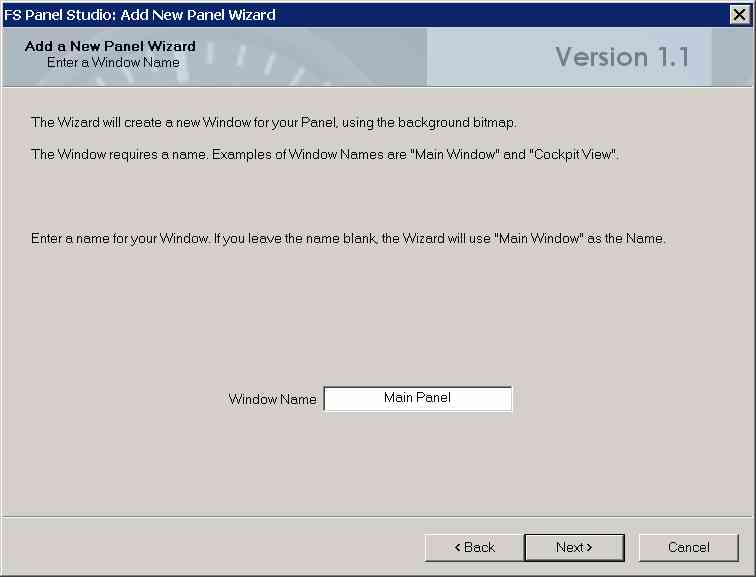
Click Next to continue.
Step 9 - Wizard is Ready - Create the Panel
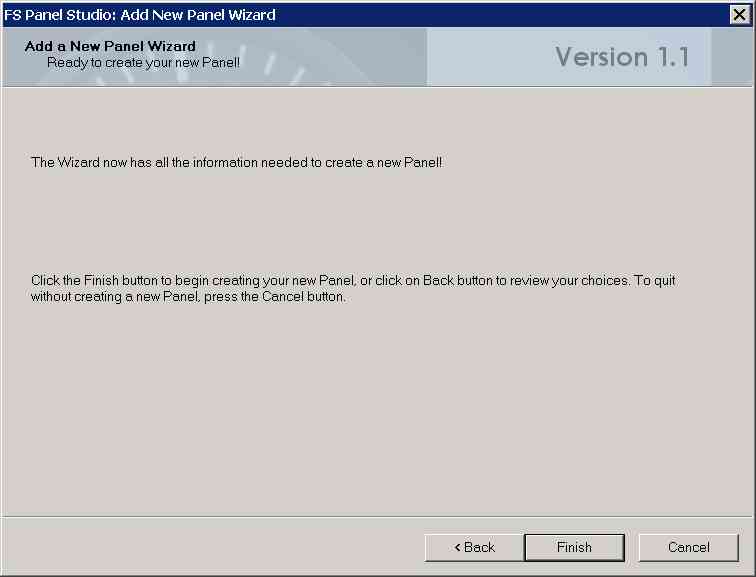
The Wizard now has all the information it needs to create a new default Panel. You can review your choices by stepping Back through the steps. When you are satisfied with your choices, click on Finish. The Wizard will create a new, default panel for your Aircraft. This Panel will also be opened in FS Panel Studio as your current Window so you can begin adding Gauges or otherwise modifying it.
Step 10 - Add Gauges to your new Panel
Congratulations. You now have the basics of a new Panel. FS Panel Studio will now open the new Panel and allow you to begin editing. At this point, you'll want to start adding Gauges and possibly additional Windows.
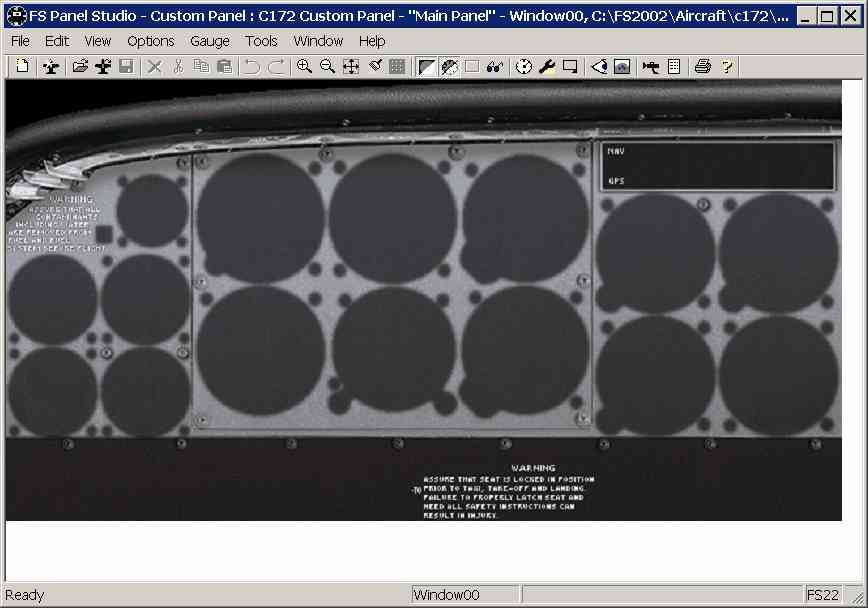
Select Gauge:Add Gauge... and add a few Gauges to your Panel, as shown:
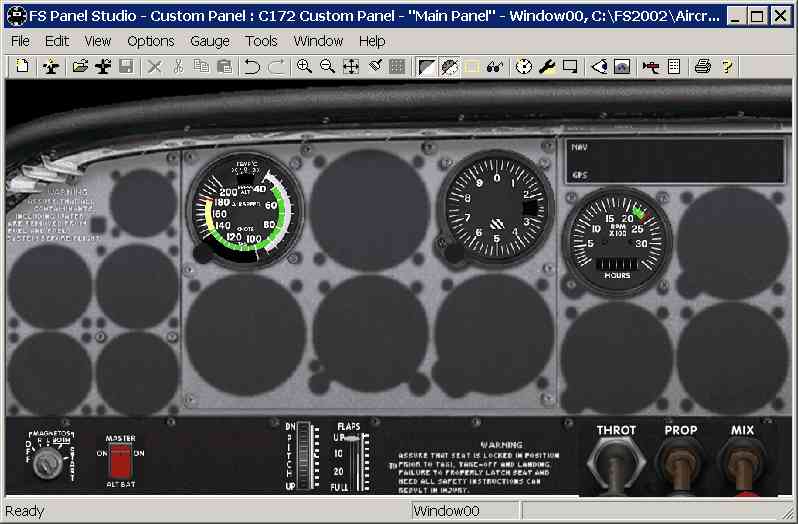
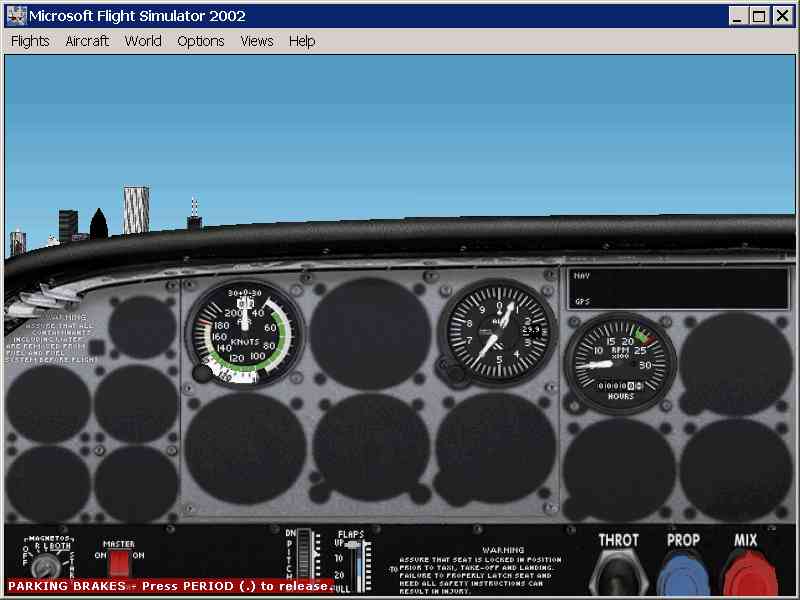
We've added the basics to get started, Airspeed, Altitude, RPM, Throttle, Master, Flaps, Pitch Trim and Ignition. Make sure you save your work when finished.
Step 11 - Verify your work in FS2002
To verify your work, start FS2002 and pick Aircraft:Select Aircraft to see what your new Panel looks like.
The new Panel will be listed under the C172SP Skyhawk entry under Aircraft model (we started with the C172 Panel). Under Variation, we see our C172 Custom Panel entry, and the Description box will show our description. Now click on OK.
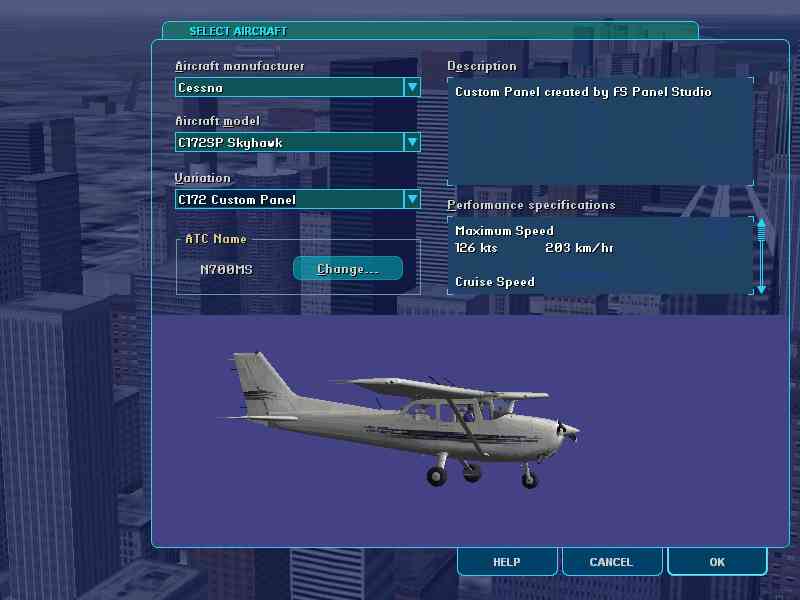
Compare this FS2002 view of the Panel with the FS Panel Studio view in Step 10.You'll see they match exactly.
This Panel could, of course, use some more work. More Gauges can be added, and the forward view adjusted for a better view of the runway (use the Window: Set Default Position menu pick). We'll see how to add a popup GPS to this Panel in the next segment of the tutorial.